Step-by-Step Guide for Replacing Kenmore Type C Vacuum Bag
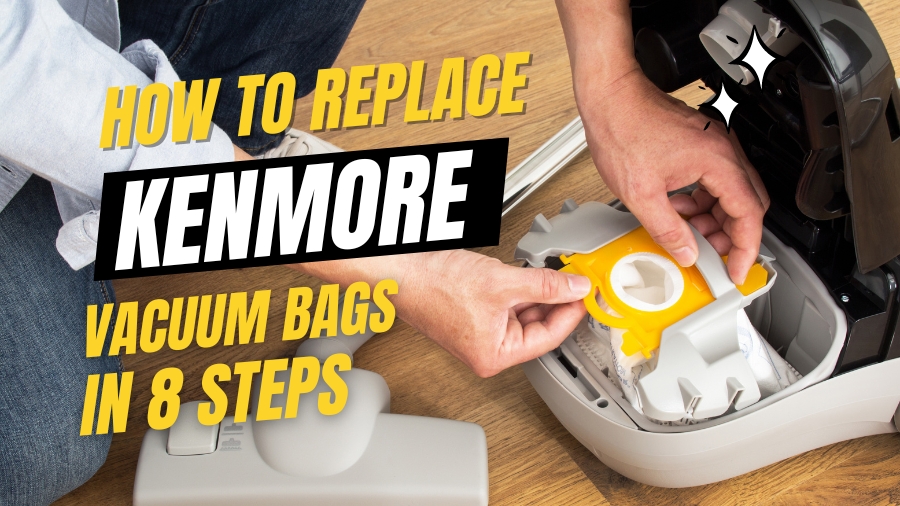
Is your vacuum cleaner losing its fight against dust and allergens? Replacing your Kenmore Type C vacuum bags is a simple yet powerful way to transform your cleaning routine. This guide unlocks the secrets to keeping your vacuum running smoothly and your home healthier.
We’ll provide step-by-step instructions and expert tips to make bag replacement a breeze. Learn why regular bag changes are crucial, and discover how to achieve a hassle-free experience.
By the end of this guide, you’ll be a pro at replacing your Kenmore Type C vacuum bags, ensuring optimal performance and a cleaner, fresher living space.
Replace Your Bag with Genuine Kenmore Bags and Experience the Difference!
Buy Genuine Kenmore Type C Vacuum Bags!
Buy Genuine Kenmore Type C Vacuum Bags!
Introduction to Kenmore Type C Vacuum Bags and Their Importance
Vacuuming is essential for maintaining a clean and healthy home, and a key component of this task is the vacuum bag. Vacuum bags serve as a containment system for dust, dirt, and allergens, preventing these particles from being released back into the air. This leads to a more thorough cleaning and reduces the risk of allergic reactions. Kenmore Type C vacuum bags, available at your local vacuum supply store, are specifically designed to fit Kenmore vacuum cleaners, ensuring optimal performance and efficiency.
Kenmore Type C vacuum bags offer several benefits. Made with high-quality materials, they effectively trap even the smallest particles, enhancing air quality in your home. These bags maintain consistent suction power, ensuring your vacuum cleaner operates at its best. With excellent filtration capabilities, they capture airborne allergens like dust mites, pet dander, and pollen, making them ideal for individuals with allergies or asthma. In the following sections, we will guide you through the process of replacing your Kenmore Type C vacuum bag to ensure your vacuum cleaner continues to perform optimally.
Step 1: Gather the Required Materials
Before you begin the process of replacing your Kenmore Type C vacuum bag, make sure you have all the necessary materials on hand. This will help streamline the bag replacement process and ensure a successful outcome. Here’s a checklist of the materials you’ll need:
Kenmore Type C Vacuum Bags: Purchase genuine Kenmore Type C bags compatible with your vacuum model. These bags are engineered to efficiently trap dust, dirt, and allergens, ensuring optimal cleaning performance.
Replacement Filters (if applicable): Check if your vacuum requires additional filters to be replaced alongside the bag. Regular filter changes maintain optimal suction power and air quality.
Screwdriver (if required): Depending on your Kenmore vacuum model, you might need a screwdriver to remove any screws or fasteners securing the bag compartment.
Trash Bag or Bin: Prepare a dedicated bag or bin for disposing of the old vacuum bag. This will prevent dust and debris from spreading during the removal process.
Having these materials ready will save you time and ensure a smooth bag replacement process. Make sure you have the correct Kenmore Type C bags and any additional filters if needed. With the necessary materials in hand, you’re ready for the next step.
Pro Tip:
To ensure you have the correct Kenmore Type C vacuum bags for your specific model, refer to the user manual or check the manufacturer’s website. Using genuine bags and filters guarantees optimal performance and compatibility. Additionally, consider purchasing extra bags and filters to have on hand for future replacements, so you’re always prepared.
Step 2: Prepare the Vacuum for Bag Replacement
Before replacing the bag in your Kenmore vacuum, it’s essential to properly prepare the vacuum. Taking a few simple steps will ensure a smooth bag replacement process and help maintain the overall performance of your vacuum. Follow these simple steps:
Turn Off and Unplug: Ensure safety by turning off the vacuum and unplugging it from the power source.
Locate the Bag Compartment: Find the bag compartment, typically at the rear or side of the vacuum. Refer to your user manual if needed.
Empty the Dustbin (if applicable): If your vacuum has a dustbin, empty it to prevent clogs and maintain suction power.
Check for Obstructions: Inspect the intake area and hose for blockages. Clear any debris to enhance performance.
Inspect Seals and Gaskets: Ensure the seals and gaskets on the bag compartment are intact to prevent air leaks and maintain efficiency.
Quick Tip: Always refer to your Kenmore vacuum’s user manual for specific instructions on bag replacement and maintenance.
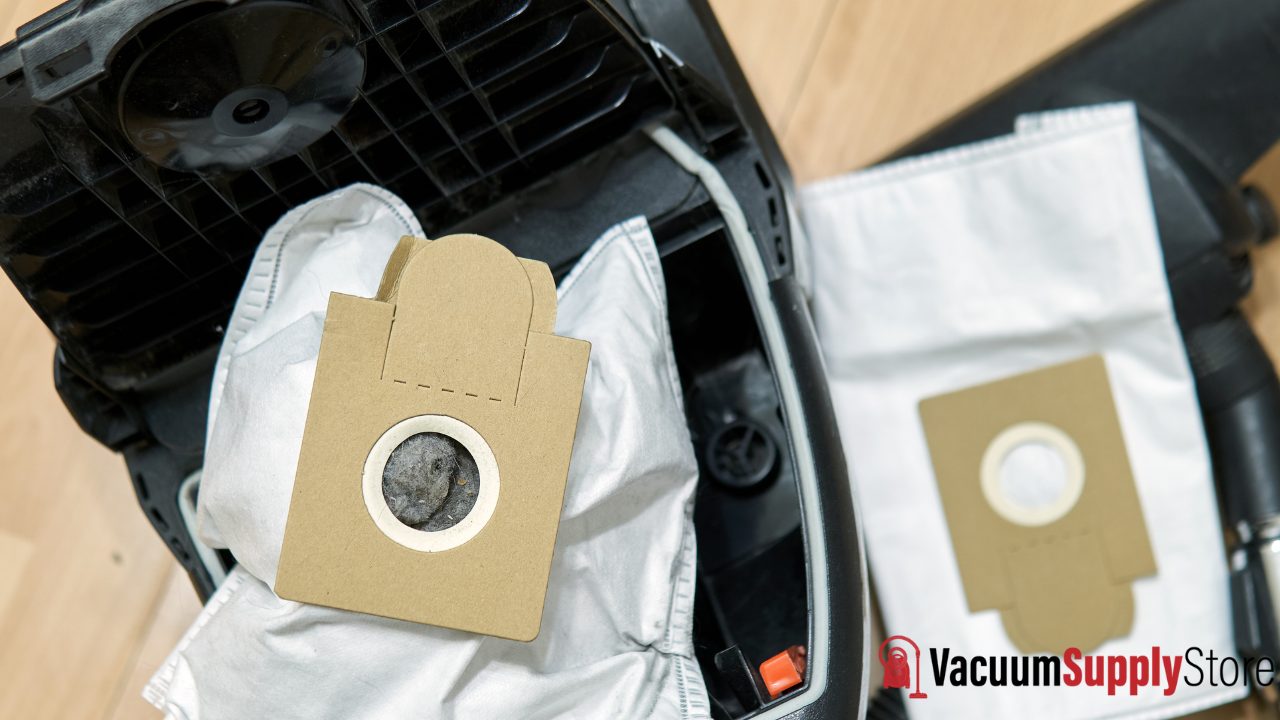
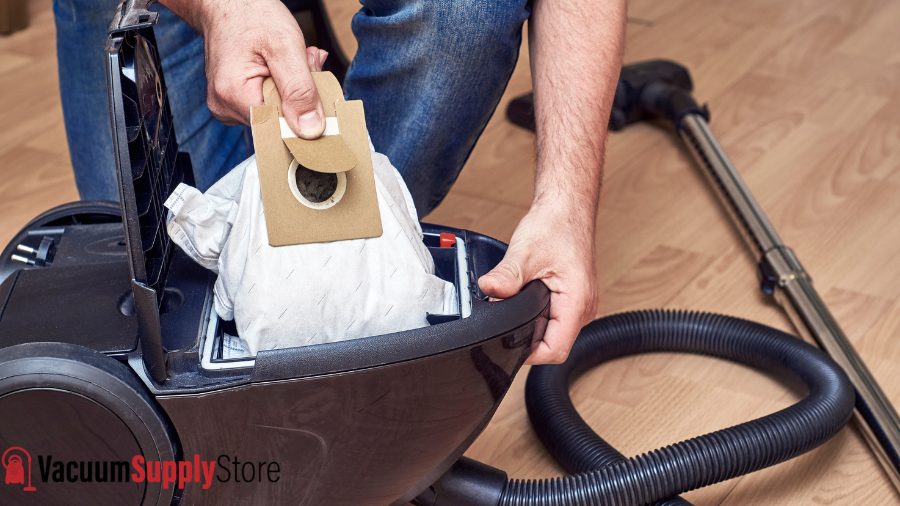
Step 3: Remove the Old Vacuum Bag
Removing the old Kenmore Type C bag from your vacuum is a straightforward process that will ensure efficient and effective cleaning. Follow these simple steps to safely remove the bag:
Power Off the Vacuum: Ensure the vacuum is turned off and unplugged to prevent accidents.
Locate the Bag Compartment: Find the bag compartment, usually at the front or rear. Refer to your manual if needed.
Open the Compartment: Press a button, release a latch, or twist a cap to open the compartment as per your vacuum model’s instructions.
Remove the Bag Carefully: Gently pull out the old bag, avoiding any shaking to prevent dust from escaping.
Dispose of the Bag Properly: Place the old bag in a trash bag or bin and seal it tightly. Follow manufacturer’s guidelines if the bag is reusable or recyclable.
Inspect the Compartment: Check for any remaining debris or blockages and clean the area with a soft brush or cloth if needed.
By following these steps, you can easily remove the old Kenmore Type C bag, ensuring your vacuum is ready for a new bag to optimize cleaning performance.
Quick Tip:
Proper bag removal and disposal contribute to a cleaner and healthier home environment.
Step 4: Dispose of the Old Bag
Once you have successfully removed the old Kenmore Type C vacuum bag, it is important to dispose of it properly. Follow these instructions to ensure safe and responsible disposal:
Seal the Bag: Before removing, securely seal the old bag to prevent dust and debris from escaping.
Check for Debris: Inspect the vacuum for remaining debris and clean it with a damp cloth if needed.
Use a Garbage Bag: Place the sealed vacuum bag inside a sturdy garbage bag for extra containment.
Tie the Bag Securely: Tie the garbage bag tightly to prevent leaks or spills.
Proper Disposal: Dispose of the bag according to local waste management guidelines. Check with local authorities if unsure.
Remember, proper disposal of the old vacuum bag is essential to ensure a clean and healthy environment. By following these steps, you can minimize the spread of dust and allergens during the bag replacement process.
With the old bag disposed of, you’re now ready to install a fresh Kenmore Type C vacuum bag. Follow the next section to learn the step-by-step process of properly installing the new bag for optimal performance.
Replace Your Bag with Genuine Kenmore Bags and Experience the Difference!
Buy Genuine Kenmore Type C Vacuum Bags!
Buy Genuine Kenmore Type C Vacuum Bags!
Step 5: Install the New Kenmore Type C Vacuum Bag
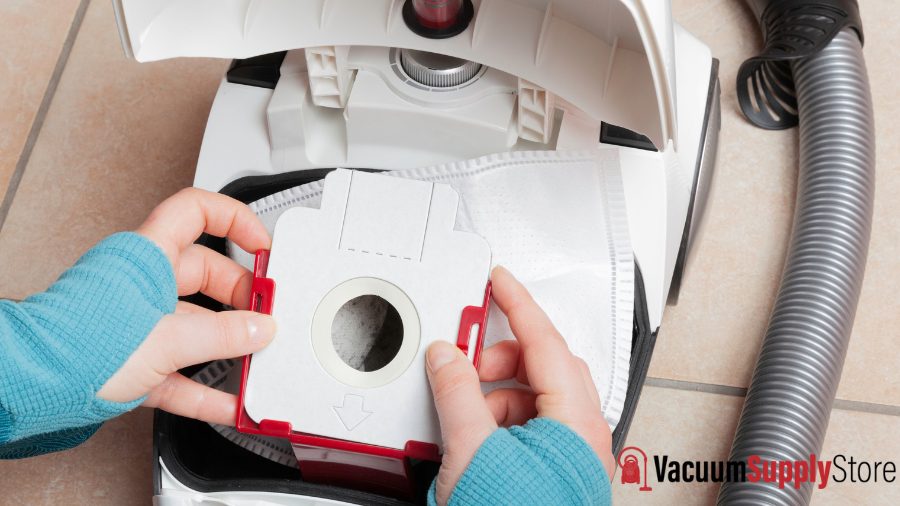
Installing a new Kenmore Type C vacuum bag is a straightforward process that ensures the continued effectiveness of your vacuum. Follow these steps to properly install the bag:
- Check the Compatibility: Before starting, ensure that you have the correct replacement bag for your Kenmore vacuum. Kenmore Type C vacuum bags are specifically designed for certain models, so double-check the compatibility to avoid any issues.
- Prepare the New Bag: Before inserting the new bag, check for any protective caps or tabs that need to be removed. This ensures proper airflow and avoids blockages.
- Insert the New Bag: Align the new Kenmore Type C vacuum bag with the compartment, making sure it fits securely. Follow any instructions or markings on the bag to ensure proper alignment.
- Secure the Bag: Once aligned, secure the bag in place. Some models may require you to attach it using clips or fasteners, while others may have a locking mechanism. Refer to your vacuum’s manual for specific instructions.
- Close the Compartment: After securing the new bag, close the vacuum compartment by replacing the cover or access panel. Ensure that it is securely fastened to prevent any air leaks.
By following these steps, you can easily install a new Kenmore Type C vacuum bag, keeping your vacuum in optimal condition. Regularly replacing the bag prevents dust and allergens from recirculating in your home, contributing to a cleaner and healthier environment.
Step 6: Reassemble the Vacuum
Once you have successfully replaced the old Kenmore Type C vacuum bag with a fresh one, it’s time to reassemble the vacuum and get it ready for use again. Follow these simple steps to ensure everything is properly put back into place:
- Replace any Removed Parts
- Check for Loose Connections
- Confirm Proper Alignment of Components
- Reattach the Bag Compartment
- Test the Vacuum
Congratulations! You have successfully reassembled your Kenmore vacuum after replacing the Type C vacuum bag. With the bag in place and the vacuum fully assembled, you can enjoy the benefits of improved suction power and efficient cleaning.
Remember, proper maintenance and regular bag replacements are key to maintaining optimal performance and extending the life of your Kenmore vacuum. For additional tips on maintaining your vacuum’s performance, check out the next section.
Stay tuned for Step 7, where we will guide you on testing the vacuum to ensure everything is functioning properly.
Step 7: Test the Vacuum
After successfully replacing the Kenmore Type C vacuum bag, it’s crucial to perform a quick test to ensure the vacuum is functioning properly. This step allows you to verify that the bag replacement was done correctly and that the vacuum is ready to tackle your cleaning tasks with maximum efficiency.
To test the vacuum, follow these simple steps:
- Power On: Switch on the vacuum power button or plug it into a power source. Ensure that the vacuum is connected securely.
- Adjustment Check: Confirm that the vacuum’s suction power is appropriate for the surface you are cleaning. Adjust the settings accordingly, if required.
- Test-Suction: Run the vacuum over a small area of carpet or flooring. Observe and listen for the sound of the vacuum picking up debris.
- Brush Roll Functionality: Check if the brush roll rotates properly. It should spin freely without any obstruction or unusual noise.
- Nozzle and Attachment Test: If your vacuum comes with attachments or specialized nozzles, attach them accordingly and test their functionality.
- Filter Inspection: If your vacuum has additional filters, inspect them while the vacuum is running.
By conducting this test, you can be confident that your Kenmore vacuum is operating as intended. It’s important to note that if you notice any issues during the test, review the previous steps to ensure proper bag replacement. If problems persist, consult the vacuum’s user manual or contact Kenmore customer support for further assistance.
Remember, regular maintenance and testing are essential to keep your vacuum in top-notch condition, ensuring it continues to provide exceptional cleaning performance.
Step 8: Tips for Maintaining Optimal Vacuum Performance
To ensure that your Kenmore vacuum continues to perform at its best, follow these helpful tips and tricks:
- Regularly Clean or Replace Filters
- Check and Clear the Brush Roll
- Empty the Dust Canister or Replace the Bag
- Check for Blockages
- Keep the Vacuum’s Exterior Clean
By regularly implementing these maintenance tips, you can extend the life of your Kenmore vacuum and ensure that it continues to provide efficient cleaning performance. Remember to consult your specific model’s user manual for any additional maintenance recommendations or troubleshooting tips.
Conclusion
Congratulations! You’ve reached the end of our comprehensive guide on replacing Kenmore Type C vacuum bags. By following the step-by-step instructions and helpful tips provided, you’ve equipped yourself with the knowledge and skills to maintain your Kenmore vacuum for optimal performance and a cleaner, healthier home environment.
Remember, proper maintenance doesn’t stop at bag replacement. By following the additional tips provided, such as cleaning filters, checking for blockages, and keeping the vacuum clean, you can ensure your Kenmore continues to operate at its best for years to come.
For any further questions or specific maintenance guidance, refer to your Kenmore vacuum’s user manual or contact Kenmore customer support. Happy vacuuming!
Replace Your Bag with Genuine Kenmore Bags and Experience the Difference!
Buy Genuine Kenmore Type C Vacuum Bags!
Buy Genuine Kenmore Type C Vacuum Bags!